![]()
![]()
![]()
Phone
585-264-9348
Fax
585-264-9347
Cell
585-747-8272
Address
IPS, LLC
Scott D. Hall
41 Fall Meadow Dr.
Pittsford, NY 14534
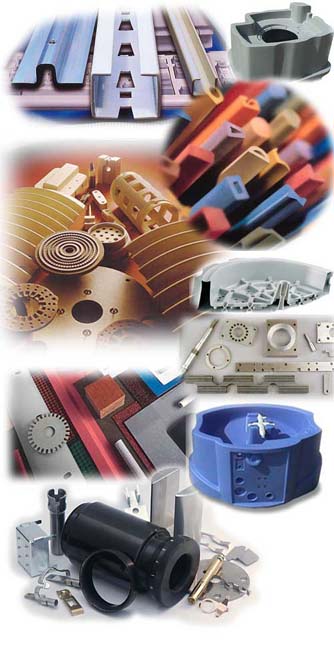
Your New York State Manufacturer's Sales Agency for Custom Plastic, Rubber, Ceramic, and Metal Parts...

| Aerospace Construction Consumer Prod. Display Distributor / Fabricator HVAC Industrial Eqpt. Lighting Marine Medical Eqpt. Office Equipment Transit Transportation
|
|
|
IPS represents some of the finest manufacturers of custom and standard plastic, rubber, ceramic, and metal parts. You will receive thorough consultative/technical sales support and problem solving expertise. We are a professional sales agency that will work with you from initial design through prototype and production. Plus, you can count on the quality you need, on time delivery, and a competitive price. Our capabilities include:
|
 |
|
|